Orchid Flower Spike Care
It is always so exciting when we find a new flower spike on our plants. The end result of proper orchid flower spike care is a rewarding cascade of beautiful flowers, which is the whole reason that we love to grow orchids. So let's talk about the sequence of steps to take from start to finish.
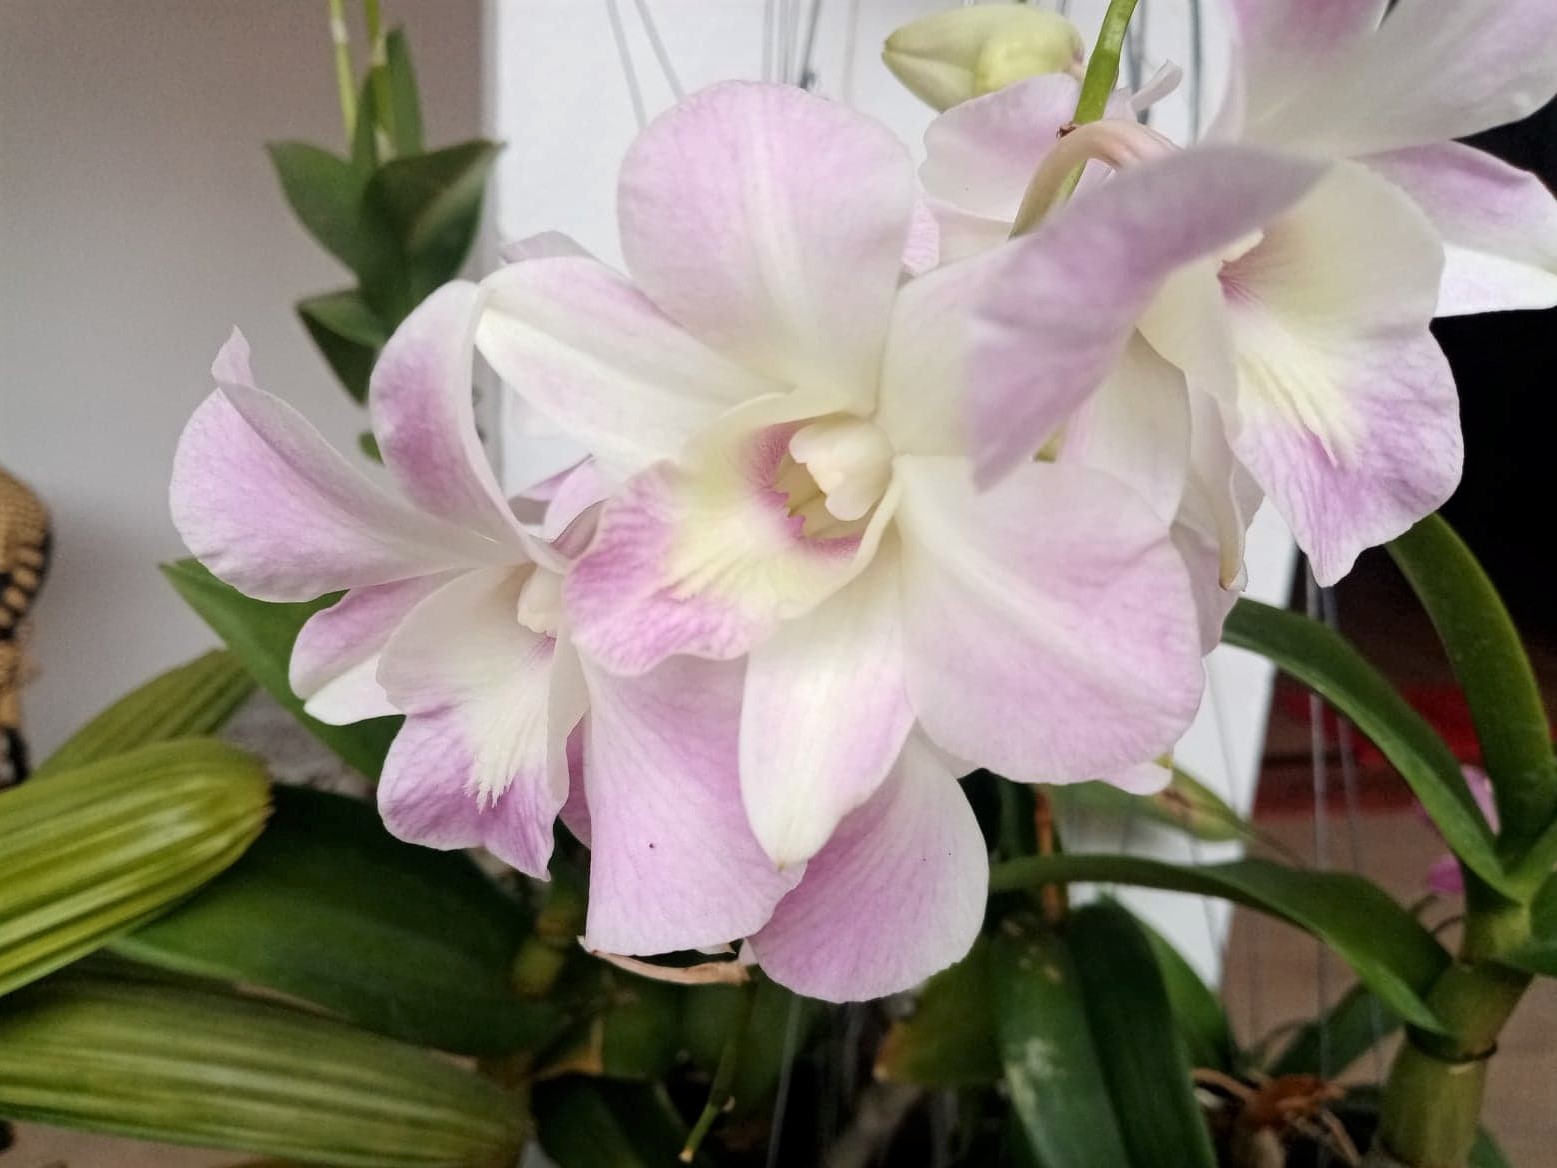
Identifying A Flower Spike
When you first notice a flower spike, it may be difficult to determine whether it is a new root or a flower spike, but the difference will become apparent in just a few weeks. A root will have a uniform shape with a rounded top and a flower spike while looking similar to a root, will have a noticeably different tip. Also roots on Phalaenopsis will have a grayish appearance when dry, while a flower spike will remain green and start to develop nodes where the flowers will appear.

Heavenly Orchids participates in affiliate marketing programs, which means we may earn commissions on qualifying purchases made through our links. We only recommend products we genuinely believe in.
Get Your Free Phalaenopsis Orchid Care Guide Now!
Orchid Flower Spike Care: A Guide to Stunning Blooms
There’s nothing more thrilling than spotting a new flower spike on your orchid! With proper orchid flower spike care, you’ll be rewarded with a breathtaking cascade of blooms—the very reason we adore these enchanting plants. In this guide, we’ll walk you through the steps to nurture your orchid’s flower spike from its first appearance to a stunning display of flowers.
Identifying a Flower Spike
When you first notice a new growth, it can be tricky to tell whether it’s a root or a flower spike. Here’s how to tell the difference:
- Roots: Have a uniform shape with a rounded tip and a grayish appearance when dry.
- Flower Spikes: Remain green and develop small nodes where flowers will eventually emerge.
On Phalaenopsis orchids, flower spikes often grow between the leaves, while roots tend to emerge from the base of the plant. Within a few weeks, the distinction will become clear, and you’ll know you’re on your way to a beautiful bloom!
Light Requirements for Orchid Flower Spike Care
Light plays a crucial role in orchid flower spike care. During the early stages of growth, the flower spike is flexible and will naturally grow toward the light source. Here’s how to guide its growth:
- Natural Light: Place your orchid near a window with bright, indirect light. The spike will grow toward the window, but you can train it to grow straight using a stake.
- Supplemental Light: If you’re growing multiple orchids, consider using an LED grow light to encourage healthy spike development. For a high-end solution, the HLG Blackbird provides full-spectrum lighting perfect for orchids.
Keep light sources at least 12 inches away from your plants to avoid burning the delicate spike.

- Aspect Luxury Led
- Full Spectrum Lighting
- Sleek and Stylish Design
- Wide Coverage Area
- Consumes minimal energy
- Incredible 15 year long lifespan
- Performance, style, and reliability
Staking for Proper Orchid Flower Spike Care
While orchids in nature don’t require staking, it’s a helpful technique for cultivated plants. Staking ensures your flower spike grows straight and provides support for the heavy cascade of blooms to come. Here’s how to stake your orchid:
- Choose the Right Time: Begin staking when the flower spike is 5-6 inches long and still flexible.
- Position the Stake: Place the stake about one-third to one-half the distance between the orchid stem and the pot’s edge. Avoid areas where roots are likely to circle the pot.
- Secure the Spike: Gently tie the spike to the stake using a soft plant tie or yarn. Be careful not to force the spike—just guide it into place.
For a professional touch, consider using adjustable orchid stakes and soft plant clips to secure the spike without damaging it.

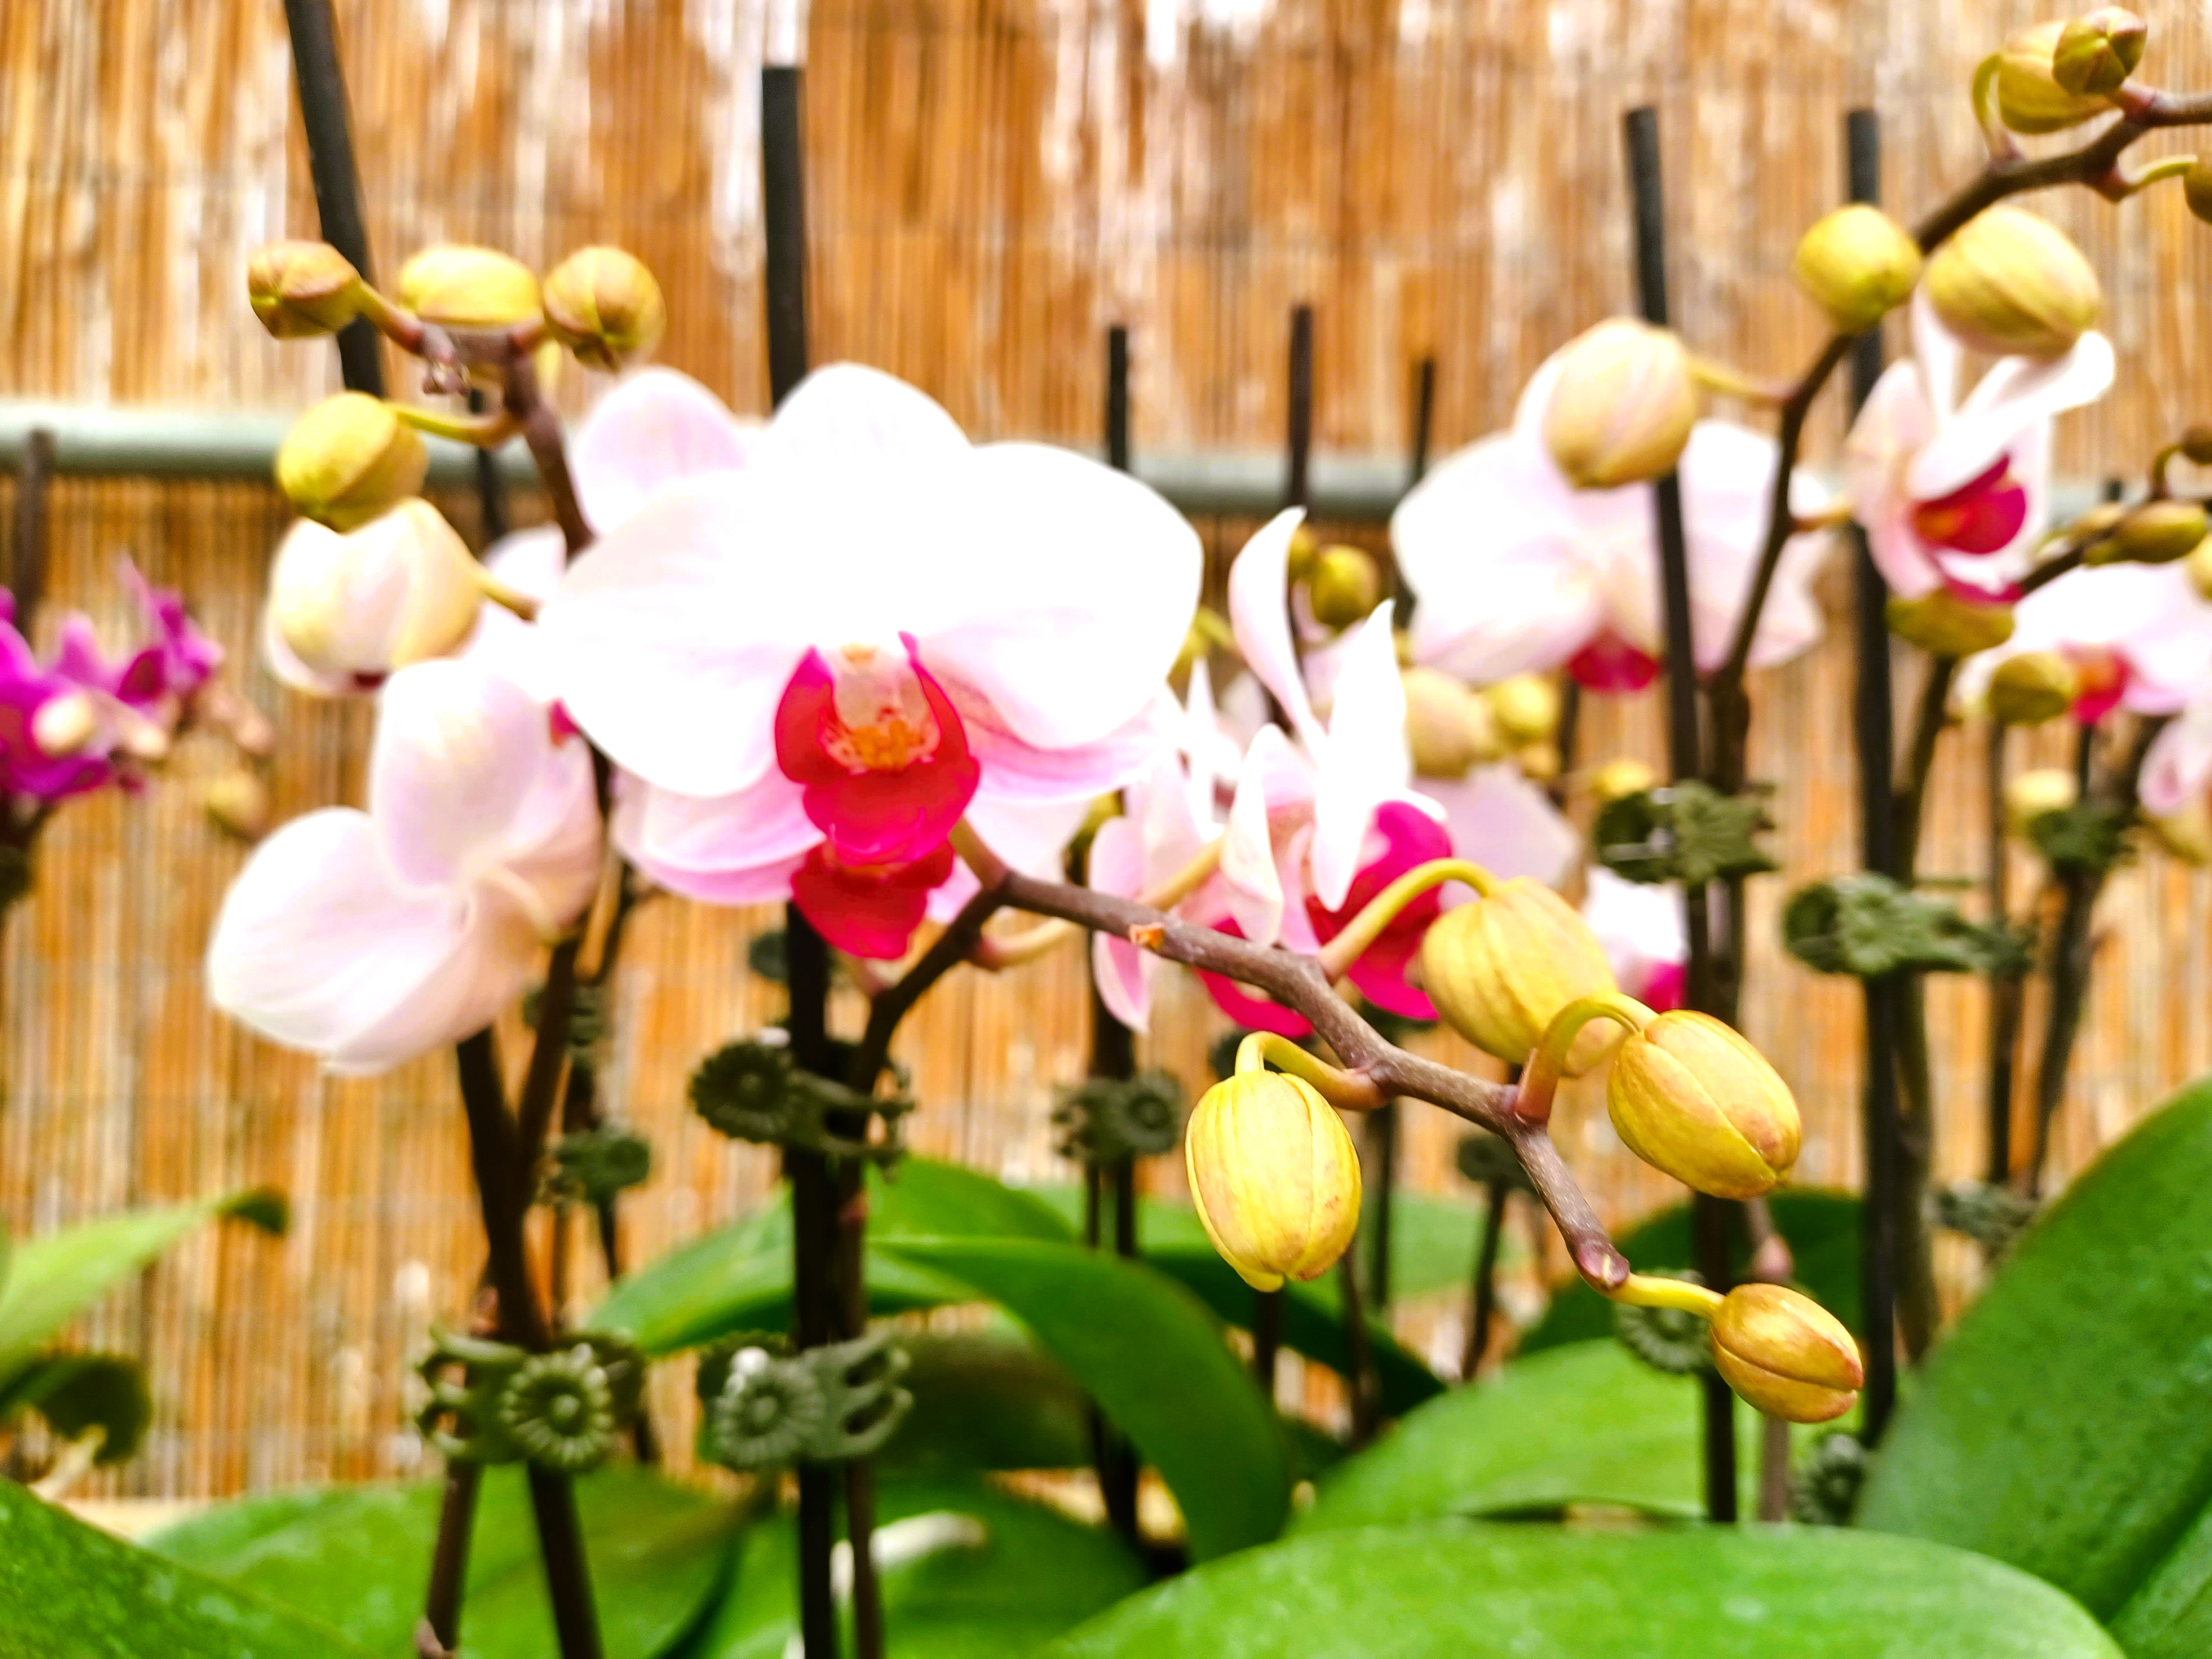
Cascading the Bloom
As the flower spike matures, it will begin to produce buds and eventually bloom. This process can take 2-3 months, depending on the orchid species. Here’s how to create a stunning cascading display:
- Continue Training: Loosely tie the spike to the stake as it grows, ensuring it remains supported.
- Use Light to Guide Growth: If your orchid is near a window, the spike may naturally curve toward the light. You can also use artificial light to direct its growth.
- Aesthetic Finishing Touches: Once the spike is fully developed, replace ties with decorative clips for a polished look. Trim the stake just below the last node to maintain a clean appearance.
Recommended Products for Orchid Flower Spike Care
To help you achieve the best results, here are some products we recommend:
- Best Supplemental Grow Light - Aspect Luxury Led
- Perfect for providing supplemental light to encourage healthy spike growth- HLG Blackbird LED
- Sturdy Adjustable Orchid Stakes are easy to use for training flower spikes.
- Gentle on spikes, Soft Plant Clips are ideal for securing them to stakes.
- Orchid Fertilizer: Promotes healthy growth and vibrant blooms.
Explore More Orchid Care Tips
- How to Make Orchids Rebloom: Learn the secrets to encouraging your orchids to bloom again and again.
- Orchid Care After Flowering: Discover how to care for your orchid once the blooms have faded.
By following these orchid flower spike care tips, you’ll be well on your way to growing healthy, vibrant orchids that reward you with stunning blooms. May your days be filled with beautiful blossoming orchids.
Your Orchid's Next Chapter
Now that you've mastered flower spike care, imagine what else you can achieve! With these techniques, your orchid is poised to deliver its most spectacular show yet. Remember:
• Patience is key – Those first tiny nodes will transform into breathtaking blooms before you know it.
• Consistency matters – Small, regular care adjustments make all the difference in spike development.
• Every orchid tells a story – Your attentive care is writing the next beautiful chapter.
For those ready to take their orchid care to the next level, our Free Phalaenopsis Care Guide dives deeper into creating the perfect environment for continuous blooming.
Here's to the joyful anticipation of unwrapping each new bloom like nature's perfect gift!
You might like these
Orchid Flower Care: Grow Stunning Blooms Year-Round | Heavenly Orchids
Master orchid flower care with expert tips on light, water, and fertilizing. Grow stunning blooms year-round. Perfect for beginners and enthusiasts alike!
Orchid Care After Flowering: Pruning & Repotting Guide
Learn expert orchid care after flowering: when to cut spikes, repotting tips for Phalaenopsis & more. Get pro advice for reblooming success!
How to make orchids rebloom-A Guide
Some guidelines on how to make orchids rebloom

Recent Articles
-
How to Decorate Potted Plants: Stunning Display Ideas & Tips
May 17, 25 03:41 PM
 Learn how to decorate potted plants with creative ideas for orchids, succulents & more. Expert tips for stunning indoor & outdoor displays!
 -
Best Fake Orchid Plants: Lifelike Beauty Without Maintenance
May 11, 25 11:26 AM
 Best fake orchid plants look real but need no care. Discover ultra-realistic silk & latex faux orchids for home, office, or event decor
 -
Green Wall Vertical Garden: Orchid Oasis with Waterfall
May 03, 25 12:23 PM
 Create a stunning green wall vertical garden with orchids, pink jasmine & waterfalls. Learn lighting, irrigation & design tips for your living wall oasis!


Get Your Free Phalaenopsis Orchid Care Guide Now!
Fun Facts About Orchids: Orchids hold the Record for the Smallest Seeds: While orchid flowers can be mesmerizingly large and vibrant, their seeds are quite the opposite. Orchid seeds are renowned for being extraordinarily tiny. In fact, they are considered the smallest seeds of any flowering plant. Some orchid seeds are so small that they are practically dust-like and weigh almost nothing. Due to their minuscule size, orchid seeds lack an endosperm, which is the energy-rich tissue found in most plant seeds. To compensate for this, orchids have developed fascinating symbiotic relationships with certain fungi. These fungi provide the necessary nutrients for the orchid seeds to germinate and grow, enabling the remarkable life cycle of these enchanting flowers.

- DREAMHOME: YOUR GUIDE TO A PERFECT HOME
- Discover the secrets of interior decorators!
- Decorate your home like the pros!
- Guide to interior design principles.
- Stylish home decoration ideas.